Expressing my heartfelt gratitude to Kibo School for granting me the invaluable opportunity to embark on an internship journey with CodeDay Working alongside two fellow teammates on a project, and under the mentorship of Papa Kojo Ampim-Darko, I found myself in an environment of growth and collaboration.
During my enriching summer internship, I had the privilege of contributing to the open-source project Zulip, an innovative team collaboration tool with a unique topic-based threading system. This experience allowed me to not only enhance my technical skills but also provided a platform for me to appreciate the art of self-directed problem-solving in the realm of software development.

Zulip, with its cutting-edge topic-based threading approach, brings together the best of email and chat to create a productive and delightful remote work environment. This open-source project, used by Fortune 500 companies and countless organizations, fosters live and asynchronous conversations for efficient collaboration.
The Task:
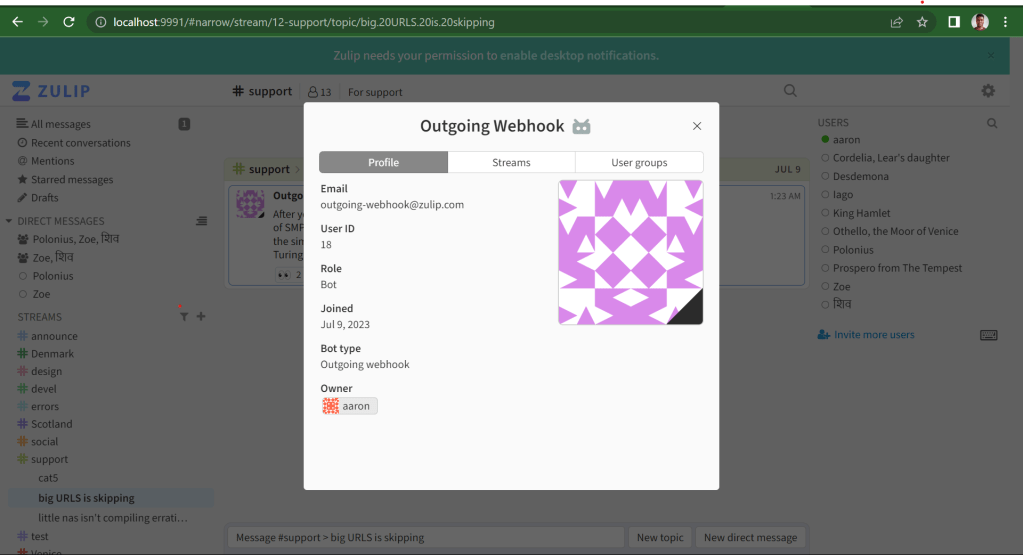
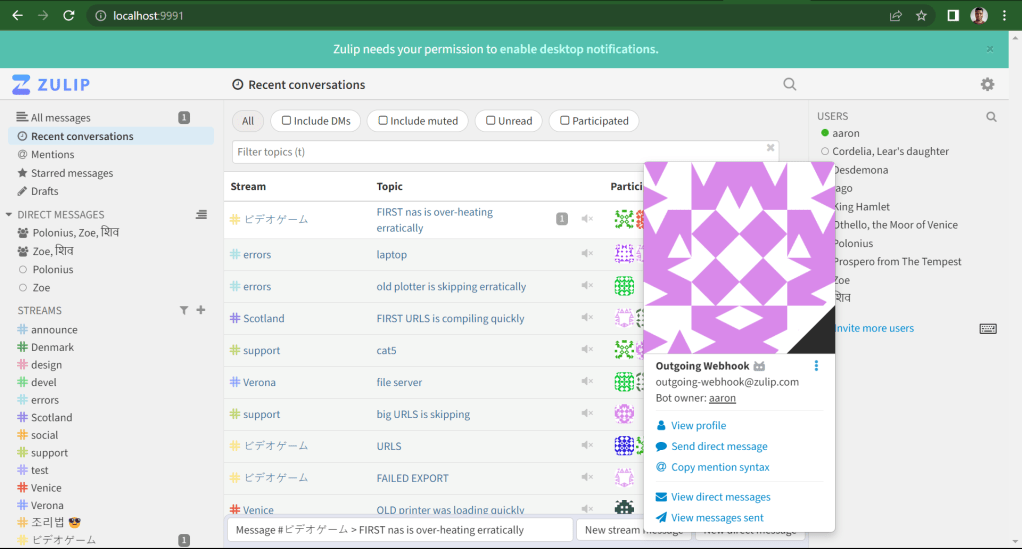
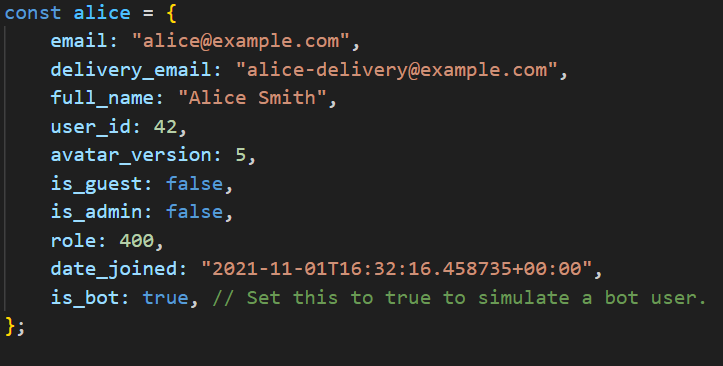
My initial challenge was to add an indicator for Bot users. The aim was to add an indicator to Bot users’ avatars to provide a clear distinction between a Bot and a Guest user from other users.
Navigating the Zulip Codebase
The Zulip codebase, being extensive, presented its own set of challenges. My journey involved navigating through the codebase, identifying the relevant files, and understanding the intricacies of the implementation. This process allowed me to familiarize myself with the project’s architecture and code organization.
The Challenges
- In approaching the task, got into the following challenges :
- Identifying the relevant files containing avatar-related code.
- Distinguishing bot user rendering within a large codebase.
- Deciding where to address the issue: avatar generation or frontend display.
- Understanding Zulip’s code structure and organization.
- Setting up the code on a new Linux environment. How to run the code on a new environment (Linux)?
The Solutions
To be able to solve these challenges, I took the following steps:
– Documentation: I read Zulip’s documentation about setting up the environment, contributing, and best practices. I learned how to set up Linux and use it for editing.
– Codebase Exploration: I used the search function in the codebase to find relevant code related to avatars. I found files like “web/styles/app_components.css, web/styles/popovers.css, web/templates/message_avatar.hbs, web/templates/user_info_popover_title.hbs, web/templates/user_profile_modal.hbs, zerver/lib/avatar.py, zerver/models.py”, which were relevant to avatars.
– Narrowing Down Search: I narrowed down my search to the files I found and focused on the relevant code sections.
Technologies
Zulip’s tech stack includes a variety of tools and technologies, such as
- Django: A high-level Python web framework that provides the foundation for Zulip’s server-side functionality.
- PostgreSQL: An open-source relational database management system used by Zulip to store and manage data.
- Redis: An in-memory data structure store used for caching and handling real-time features like notifications.
- Tornado: A Python web framework and asynchronous networking library, used for handling real-time events and WebSockets.
- Handlebars: A templating engine utilized to create dynamic templates on the client side for rendering user interfaces.
- Node.js: A JavaScript runtime that allows Zulip to execute JavaScript on the server side, enabling efficient real-time features and server scripting.
- React: A JavaScript library for building user interfaces, used in Zulip’s web client to create dynamic and responsive UI components.
- Redux: A predictable state container for JavaScript apps, used with React to manage the application’s state and data flow.
- Less: A CSS preprocessor that enhances the styling capabilities of Zulip’s user interface.
- Webpack: A module bundler used to bundle JavaScript files, CSS, and other assets for efficient delivery to the browser.
- Babel: A tool for converting modern JavaScript code into versions compatible with older browsers.
- Puppeteer: A headless browser tool used for automated testing and generating screenshots of Zulip’s user interface.
- Python: Besides Django, Zulip’s server-side codebase involves the use of Python for various features and components.
- GitHub: The platform where Zulip’s source code is hosted, enabling collaborative development and version control.
Solving the Tasks
After identifying the relevant files to change (`web/src/popovers.js, web/styles/app_components.css, web/styles/popovers.css web/templates/message_avatar.hbs, web/templates/user_info_popover_title.hbs, web/templates/user_profile_modal.hbs, web/tests/popovers.test.js’.), We made the following changes:
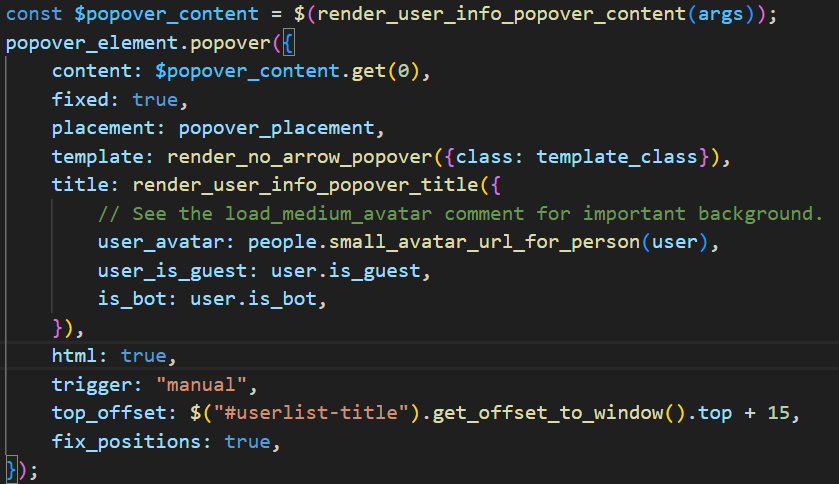
- In
web/src/popovers.js, We added theis_botparameter to render the bot user avatar appropriately.
- In
web/styles/app_components.css, We added styles to differentiate guest and bot avatars from other users’ avatars.
- We consolidated avatar styles in
web/styles/app_components.css from web/styles/popover.cssfor consistency.
- In
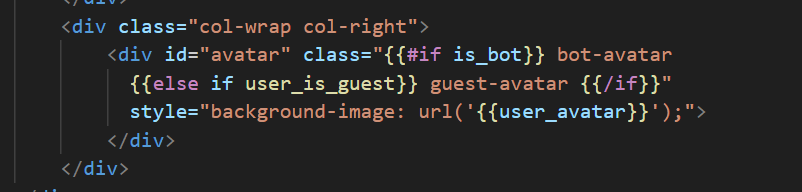
web/templates/message_avatar.hbs, We added a parameter to check if it’s a bot user.

- In
web/templates/user_info_popover_title.hbsandweb/templates/user_profile_modal.hbs, We added checks to determine the type of user avatar to be displayed.
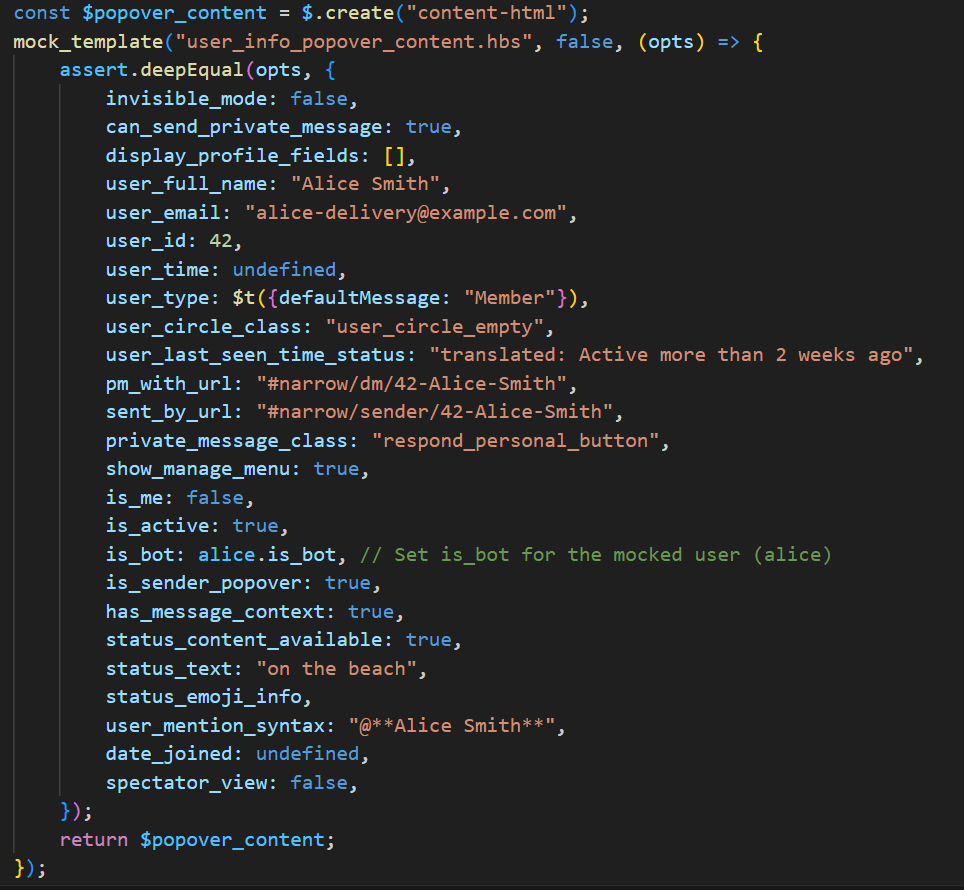
- In
web/tests/popovers.test.js, We wrote test cases to ensure the changes were working as expected.

Pull Request and Collaborative Reviews
After implementing the avatar changes for Bot users, We submitted a pull request to Zulip. The collaborative nature of open-source development came to light as We engaged in conversations with reviewers and made iterative changes based on their valuable feedback.
Valuable Feedback and Growth
Reviewers provided insightful feedback on code style, CSS consistency, and commit message discipline. This iterative feedback loop allowed me to refine my contributions and align them with Zulip’s standards. I also learned the importance of adhering to guidelines and maintaining consistent coding practices.
Knowledge Acquired
- Codebase: Getting used to an extensive codebase in Zulip gave me hands-on-experience in understanding a complex project’s structure.
- Problem Solving: Encountering challenges such as identifying relevant files and deciding where to address the issue helped me develop problem-solving skills.
- Technologies stack: I gained exposure to new tech stack including Node.js, React, Webpack, Babel and Puppeteer.
- Testing Skills: Writing test cases improved my knowledge in testing.
- Community: Contributing to a project like Zulip exposed me to a broader perspective on software development.
- Self-Directed Learning: Understanding the codebase improved my knowledge as a developer.
Conclusion: The Power of Open Source
My journey with Zulip taught me the significance of open-source collaboration, self-directed learning, and the value of community-driven development. Contributing to an impactful project like Zulip not only enhanced my technical skills but also fostered my appreciation for the global community that comes together to create exceptional software.
The link to my linkedin post is here